As environmental awareness grows, the importance of repurposing items we might otherwise throw away becomes clear. Glass bottles and jars, staples in many households, are prime candidates for such reutilization. These containers can be transformed to serve various new purposes, prolonging their lifespan and reducing waste. This shift supports sustainability and introduces a creative element into everyday spaces. This article delves into several straightforward yet inventive methods for upcycling large and small glass containers. It improves their functionality and aesthetic appeal. Through these projects, you can breathe new life into common items. And turn them into unique and practical additions to your home or office.
Section 1 Glass as a Vessel for Creativity
1.1 Transforming Large Jars into Elegant Vases
Rather than relegating large glass jars to the recycling bin after their initial use, why not transform them into stylish and elegant vases? This simple upcycling project not only gives a new lease of life to an everyday item. But also adds a personalized touch to your home decor.
▶ Steps:
○ Thorough Cleaning: Begin by thoroughly cleaning the jar to ensure it is free from any residues or labels. Soaking the jar in warm, soapy water can help loosen stickers and adhesive. For stubborn residues, rubbing alcohol or a mixture of baking soda and cooking oil can be applied.
○ Creative Decorating: Once clean, you can personalize the jar to suit your interior design. Painting the glass with glass-specific paints can add a pop of color and transform the jar into a statement piece. Alternatively, wrapping the jar with ribbons, rustic twine, or even burlap can give it a charming, country-inspired look. For a more artistic effect, consider using techniques such as frosting, etching, or decoupage.
○ Arranging the Contents: Fill the jar with water and arrange your choice of floral elements. Fresh flowers will bring a lively and vibrant feel, while branches or dried botanicals offer a more subdued, rustic aesthetic. Experiment with different arrangements: consider height, color, and texture to create an eye-catching display. For an added twist, you can also incorporate floating candles or colorful stones at the base for a more sophisticated decor element.

1.2 Mason Jars as Desk Organizers
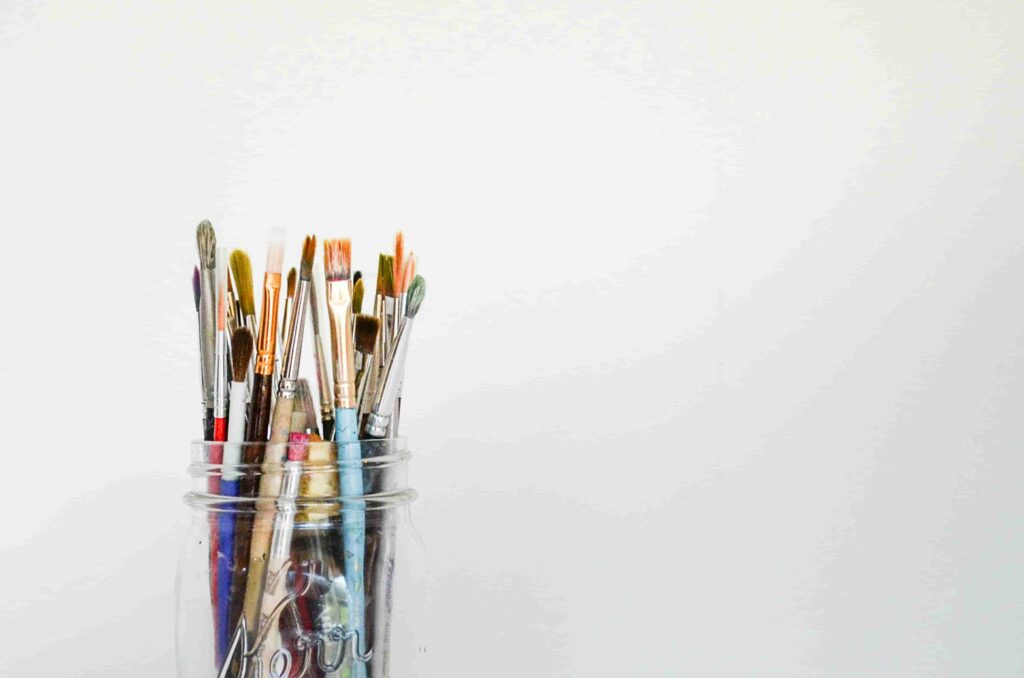
Mason jars and their counterparts serve not just as quaint kitchen containers but also as efficient organizers for your workspace. These jars are particularly adept at taming the chaos of pens, pencils, and an array of small office supplies. Transforming a mason jar into a desk organizer adds a splash of personalized style to your office area.
▶ Steps:
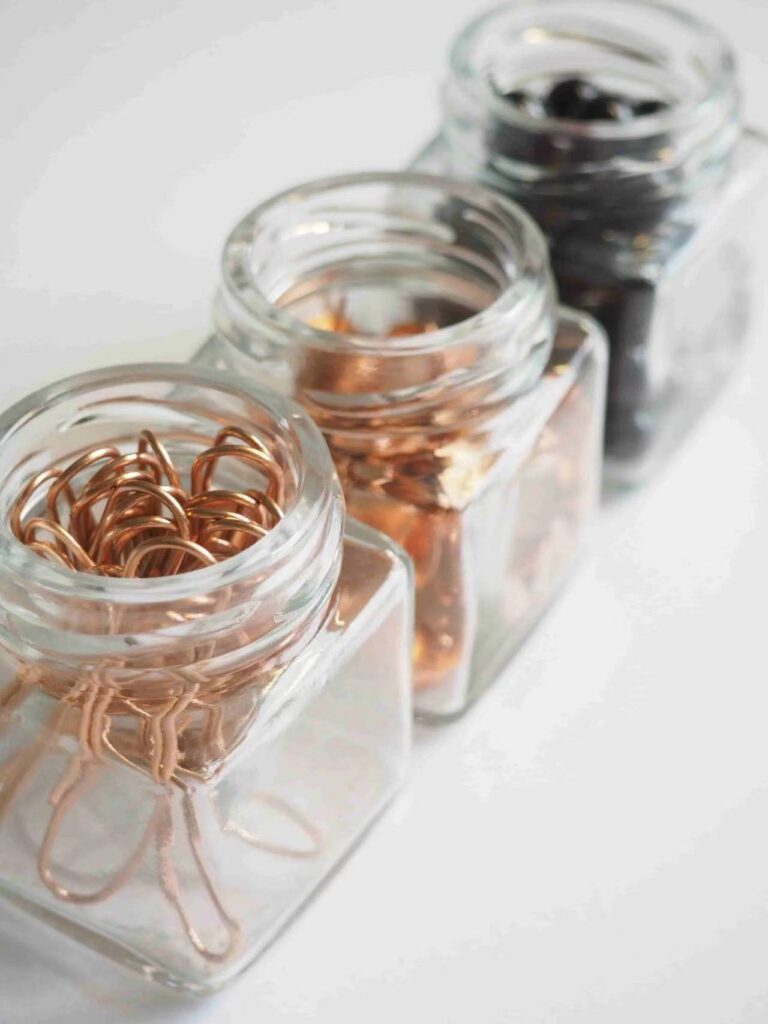
○ Selecting the Right Sizes: Begin by selecting jars of various sizes to suit different needs. Small jars are ideal for items like paper clips and thumbtacks. While larger jars can hold pens, markers, or scissors. This variety ensures everything has its place, contributing to a more organized and functional workspace.
○ Personalization: Personalize your jars to reflect your style and enhance the aesthetics of your desk. Painting the jars can immediately brighten your workspace or match the existing decor. Labels can also be added for a more organized look, detailing the contents of each jar. For a crafty touch, decorate the jars with washi tape, which comes in various colors and patterns. You can even add decorative elements such as burlap or lace for a vintage feel.
○ Functional Arrangement: Position the jars strategically on your desk or shelves where they are easily accessible yet out of the way. You might cluster them in a corner to maximize desk space or line them up along a shelf for an organized display. To enhance stability and add a stylish twist, consider mounting the jars on a reclaimed wood board.

1.3 Small Square Jars for Tiny Treasures
Small, square, clear glass jars offer an elegant and practical solution for storing and organizing those tiny, often misplaced items around your home or office. These versatile containers are ideal for neatly corralling small essentials such as paper clips, rubber bands, and even delicate jewelry pieces.
▶ Steps:
○ Choose Wide-Mouth Jars: Opt for jars with wide openings to facilitate easy access to the contents inside. Wide-mouth jars are particularly useful for quickly grabbing smaller items without the hassle of reaching deep into a narrow opening. This feature is crucial for efficiency and convenience, especially when you are in the middle of a task or project.
○ Effective Labeling: Clearly label each jar with its contents. This step helps maintain organization. And also saves time by allowing you to quickly identify the contents at a glance. Use a label maker for a clean, uniform look, or handwrite labels for a more personal touch. You might consider transparent labels to keep the focus on the elegance of the glass.
○ Strategic Placement: Organize these jars in locations where they will be most functional. Placing them in drawers with dividers can keep them secure and prevent them from moving around. Alternatively, displaying them on open shelves or desktop organizers not only makes them easily accessible but also turns your storage solution into a decorative display. For an artistic arrangement, vary the height and size of the jars or group them by the type of contents.

1.4 Mason Jars as Hanging Decor
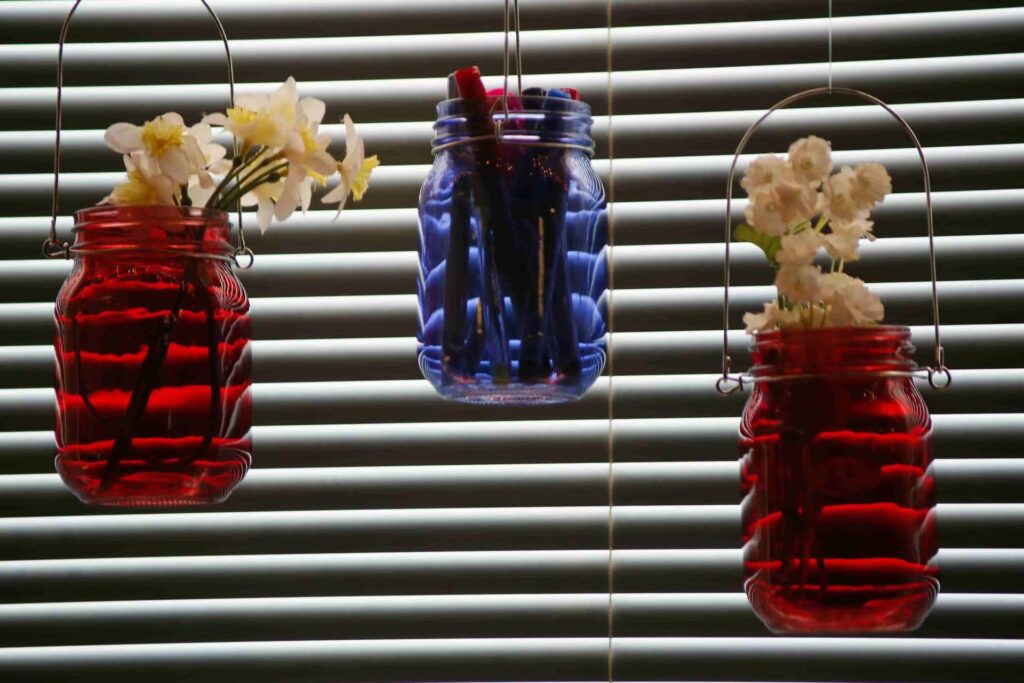
Mason jars can be transformed into delightful hanging decor that adds a splash of color and charm to any room. This creative reuse not only enhances the aesthetics of your living space but also provides a versatile way to display decorative elements.
▶ Steps:
○ Selecting and Painting the Jars: Begin by selecting mason jars of various sizes to create a dynamic visual effect. Paint the jars in colors that complement or contrast with your existing home decor to integrate them seamlessly or make them stand out as focal points. Use high-quality glass paints for a glossy, durable finish, or consider frosted paint for a soft, diffused look that enhances the glow of any light placed inside.
○ Preparing for Hanging: Attach a sturdy wire or a piece of strong string around the neck of each jar. Ensure the wire is securely fastened, creating a strong loop that can support the jar’s weight. For a rustic look, you might use twine or jute. For a more industrial vibe, metal wires or chains are excellent choices. This method allows the jars to be hung safely and securely.

○ Filling the Jars: Fill the jars with lightweight materials that catch the eye. Fairy lights offer a magical glow, transforming your space into a whimsical retreat. Small flowers, either fresh or dried, can bring a touch of nature indoors. While aromatic herbs not only look green and lively but also infuse the room with subtle fragrances. For a creative twist, add colored sand or pebbles at the bottom of the jars before adding other decorations.
○ Displaying Your Decor: Hang your decorated jars in windows, on patios, or above kitchen counters. They can also be grouped at varying heights in a corner to create an artful installation. In outdoor spaces, these hanging mason jars provide a charming ambiance for evening gatherings, gently illuminating the area with their contained light sources.
Section 2 Empty Glass Bottles Beyond Conventional Uses
Building a Glass Bottle Wall
Creating a hanging glass bottle wall strung together with wires is an innovative and visually appealing way to repurpose old glass bottles into a stunning decorative feature.
○ Collect and Prepare the Bottles: Gather a diverse collection of glass bottles, preferably in various sizes and colors for a dynamic visual effect. Clean each bottle thoroughly to remove any labels, dirt, and residues. Ensure that all bottles are dry and clear of any debris.
○ Materials Needed: Along with the glass bottles, you will need strong, durable wire—stainless steel or coated copper wires are excellent choices because they offer strength and resistance to weathering. Additionally, you might need wire cutters, pliers, and safety gloves to handle the materials safely.
○ Design Your Layout: Plan the layout of your bottle wall. Decide how many bottles you want to include and in what pattern they should be arranged. You could opt for a random, abstract design or a more structured pattern. Sketching your design beforehand can be helpful.

○ String the Bottles Together: Using your wire, thread through each bottle’s neck, tying a secure knot below each to prevent slipping. Leave sufficient space between bottles to ensure they hang without clashing against each other. Continue stringing bottles until your desired design is achieved.
○ Create Support for Hanging: Construct a sturdy frame or use an existing bar from which to hang your bottle arrangement. Ensure that the support is strong enough to hold the weight of all the bottles, especially if you’re creating a larger installation.
○ Installation: Hang the wired bottles from the chosen support, adjusting the arrangement as needed to achieve your desired aesthetic. Make sure that each connection is secure to avoid accidents.
○ Final Touches: Once your bottle wall is securely installed, you can add lighting behind or around the bottles to enhance the visual impact, especially when the light filters through the colored glass.
Conclusion
Repurposing glass bottles and jars into creative and functional items for your home and garden is not only a sustainable practice. It’s also a way to add a personal touch to your environment. From transforming large jars into elegant vases and using mason jars as innovative desk organizers to creating striking garden fences and decorative walls with glass bottles, these projects allow you to express your creativity while reducing waste. Each approach detailed in this blog offers a unique blend of aesthetic appeal and practicality. Ensuring that these everyday items find new life in beautiful and useful forms. By embracing these ideas, you can make a significant impact on both your surroundings and the environment. Proving that small changes can create big differences. For more ideas and detailed guides on repurposing and recycling everyday items, be sure to check out our website.


